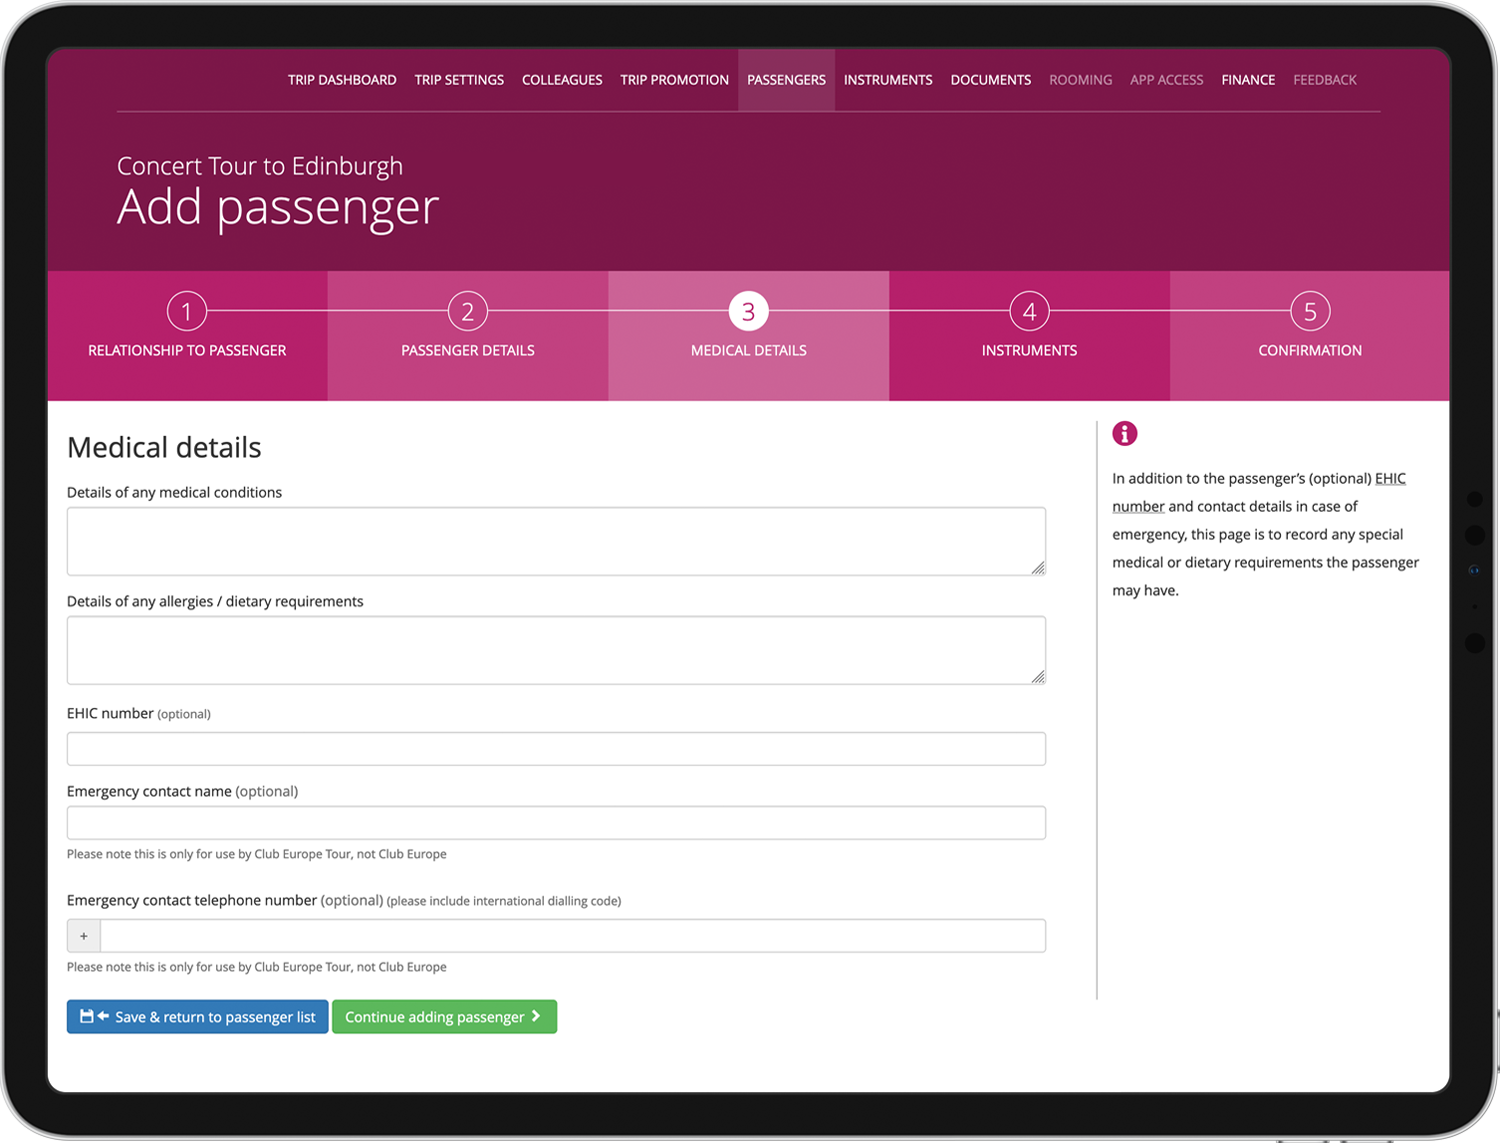
Managing every aspect of your tour couldn't be easier with our customer portal, My Club Europe. If you'd like our help, we’d be happy to set up a quick demonstration on Teams.
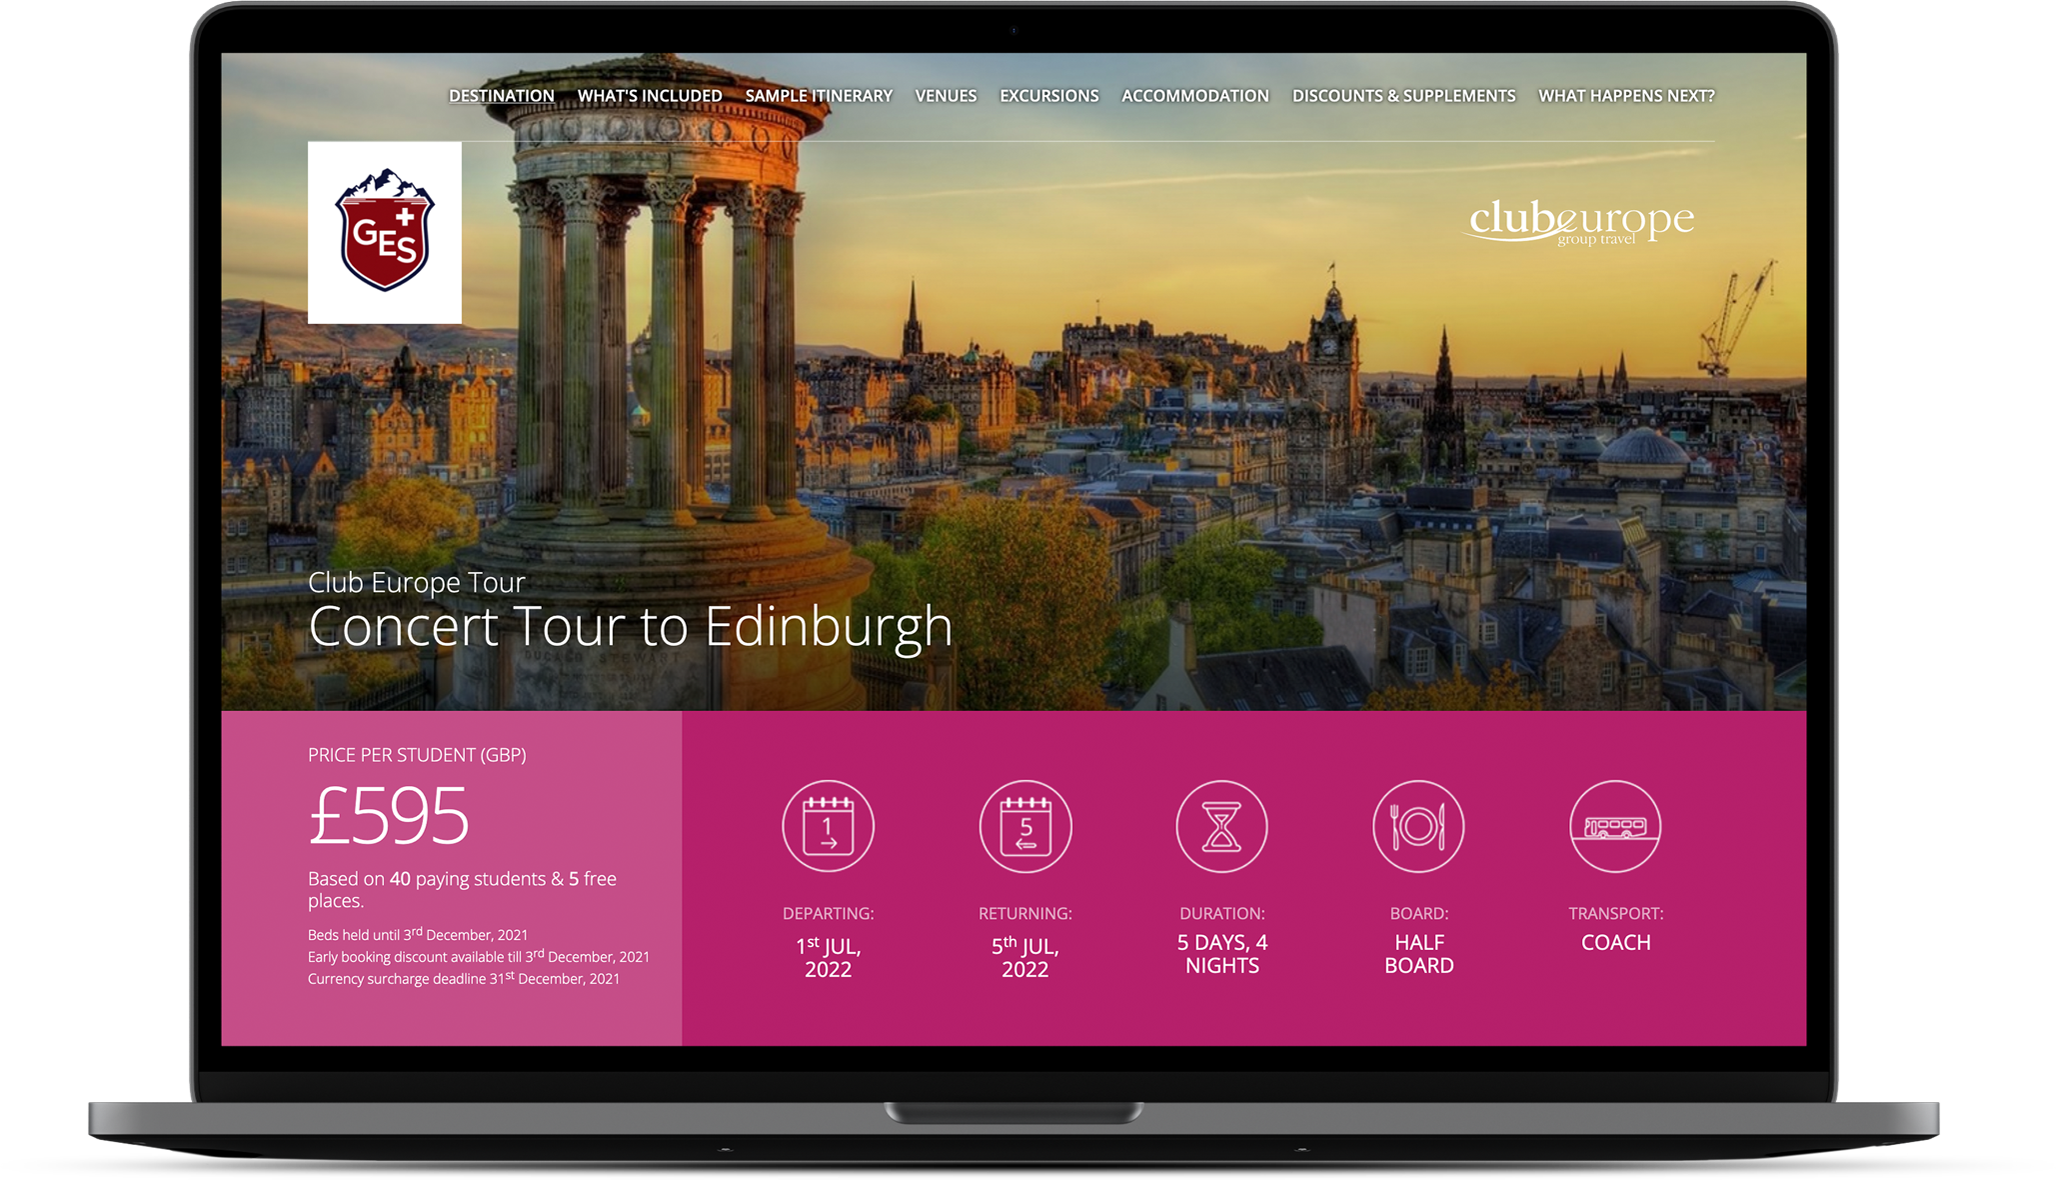
Download the My Club Europe Help GuideYour quote will include everything you need to know about your trip from what’s included and sample itineraries to information about what happens next. You can then accept, request changes, share with colleagues or reject your quote.
Step 2: Log in to My Club EuropeWe will send you a link to create your account. As part of the process of accepting a quote you will choose a password to access your portal where you can get updates about your trips, billing, passengers, previous quotes etc.
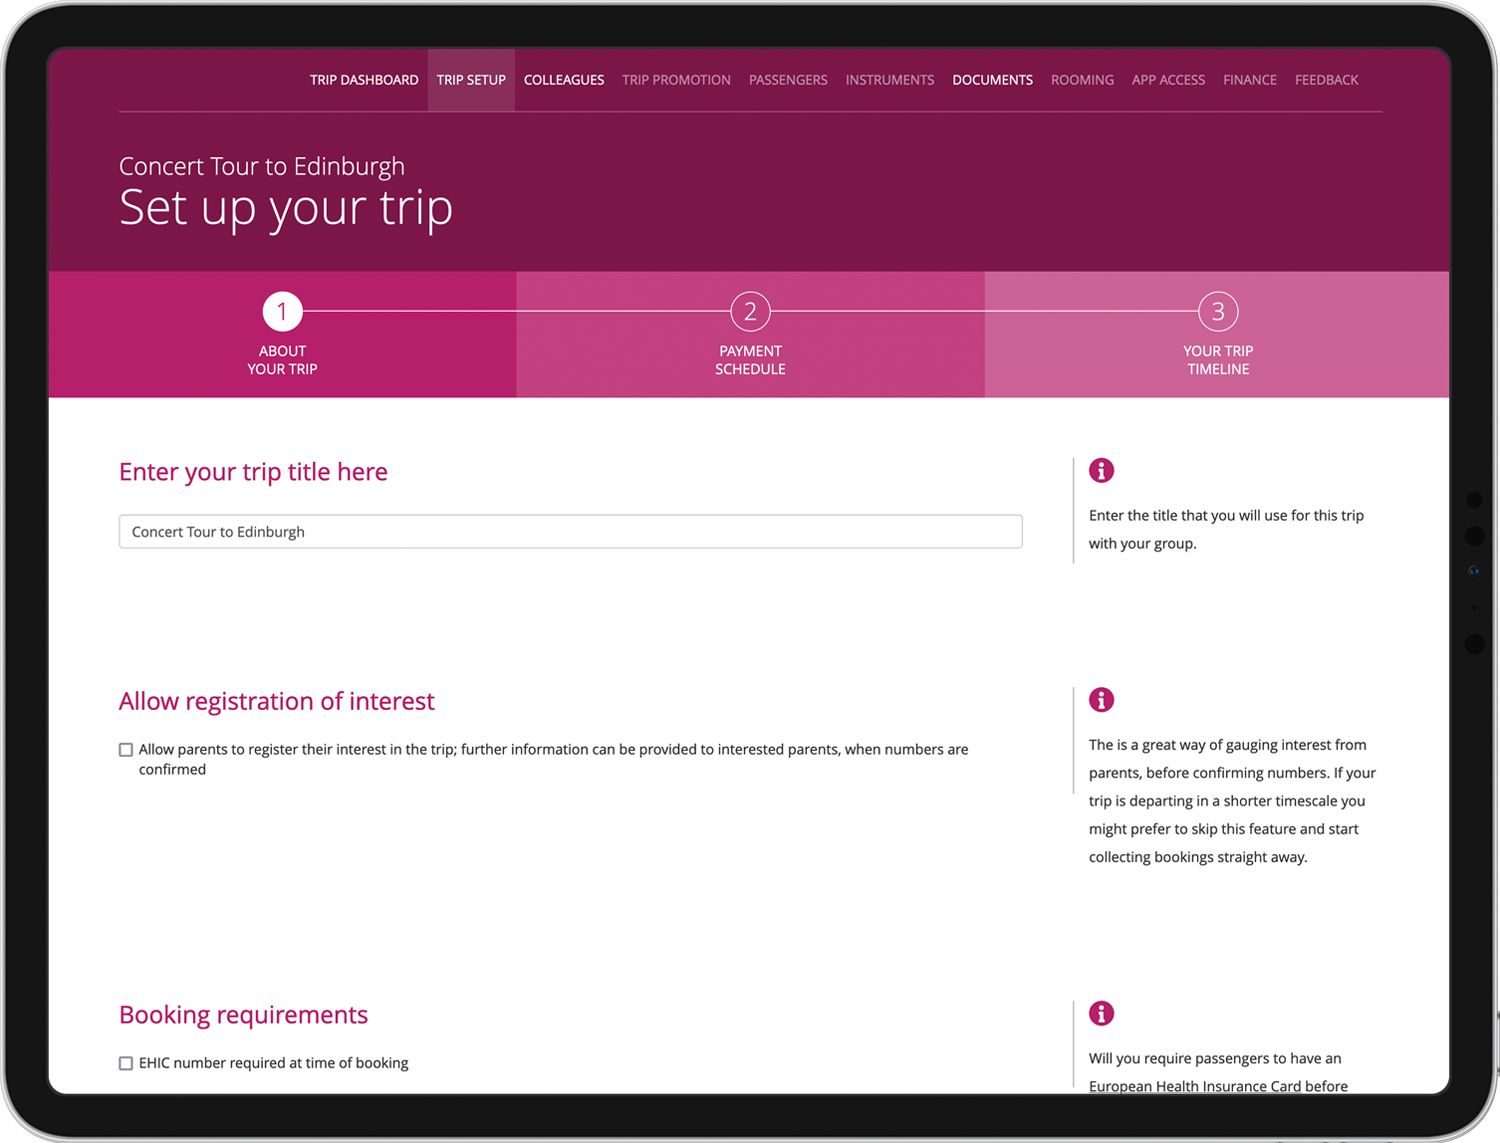
Step 3: Set up your tripWhen everything with your quote is perfect, it’s time to start managing your trip.
Enter all the details of your trip.
Follow the steps to set up the trip for parents, putting in the price and the dates by which you want the information back.
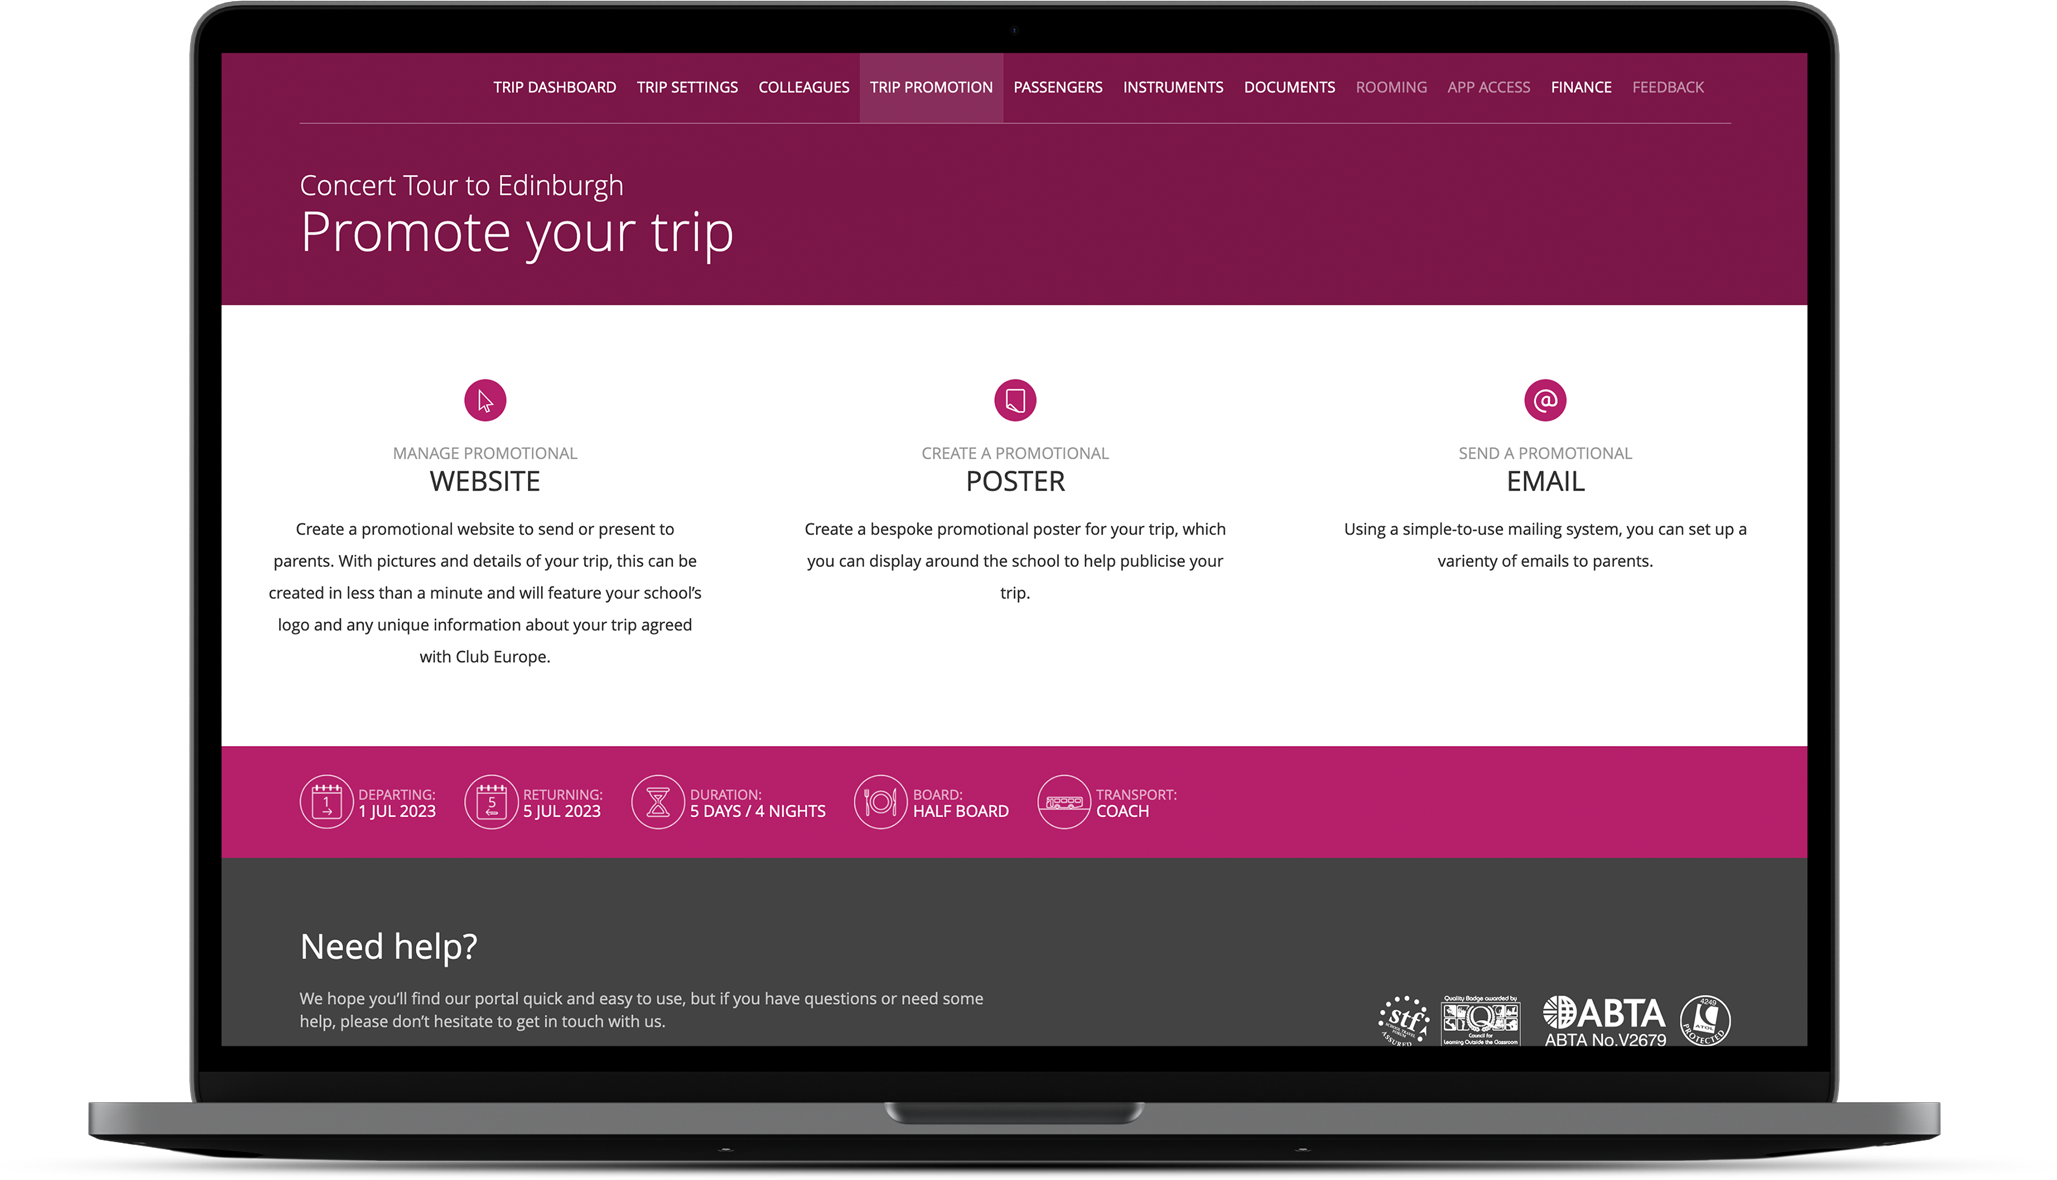
Step 4: Promote your tripClick on the “Trip Promotion” tab and click “Website” to create a trip website to send to parents. You can “Preview” this site before sending.
Use this section to create posters, email campaigns and more.
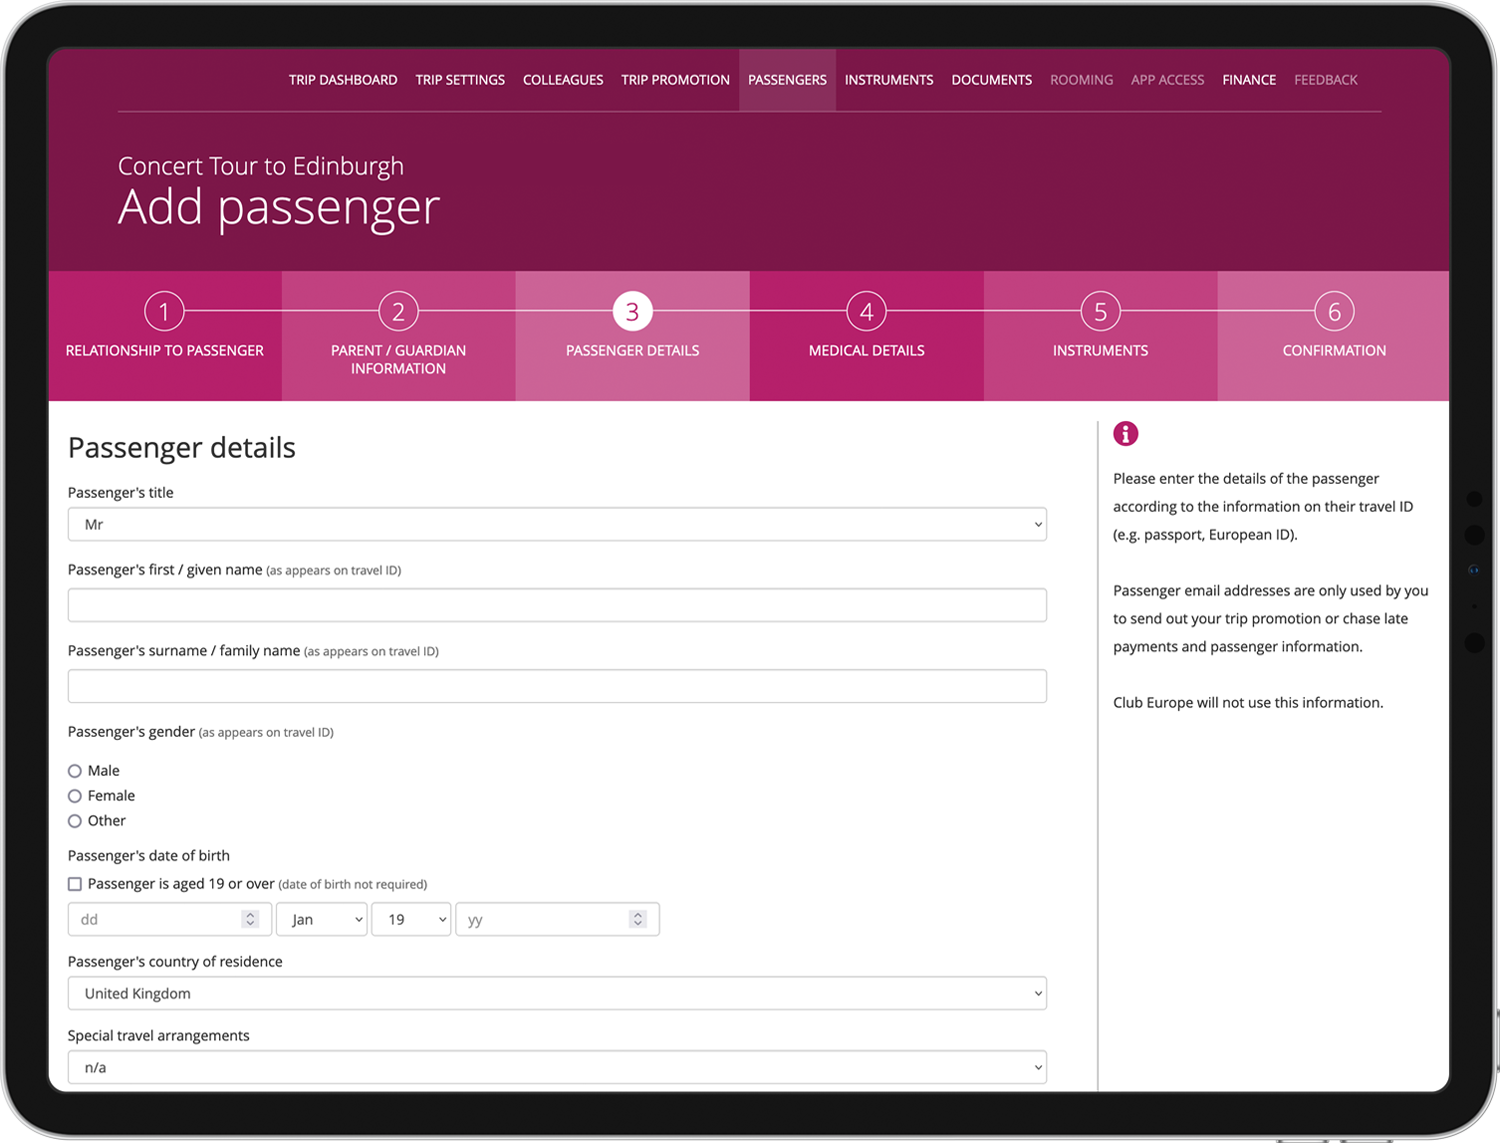
Step 5: passenger informationOnce parents have the trip website, they will just need to click BOOK NOW to be able to upload information. The school can also add passenger information themselves.
Check their progress in the “Passenger” tab.. The system helps check that all the key information has been received and helps you keep track of deadlines and sign up numbers.
Step 6: Keep trackSend parents reminders for passenger details and payments.
Set deadlines and schedule payment dates.
View the balance on you invoicing from Club Europe.
See travel and insurance documents as they are uploaded to the portal by Club Europe.
ASK US FOR MORE INFORMATIONSign up here to receive up-to-date information on My Club Europe and its benefits.